Heavy modding:
I've been quite pleased with my headphones so far. Especially those I've made using titanium drivers. I had a relatively high-quality "tesla" driver available that I believe is even higher quality than the last "tesla" driver I used. The outer casing is anodized metal.
Hmm, what shall I do with this one? I do have a rather ragged Symphonized headset...
My next pair of headphones is now obvious. I've always liked the build quality of this headset. It's not really solid metal. it's not really thick, and there's plastic in the cup's walls. That said, the headband, the sliding mechanism, and stirrup are all steel, and have decent flex. It's not something I'd worry about being unable to take a beating. The main reason I used this headset over my others in the past, was comfort - not sound quality.
Let's Build!
I started with my pair minus the torn earpads.
I've had this a few years, and it still looks great. Time to make this muffled mess sound better 😁
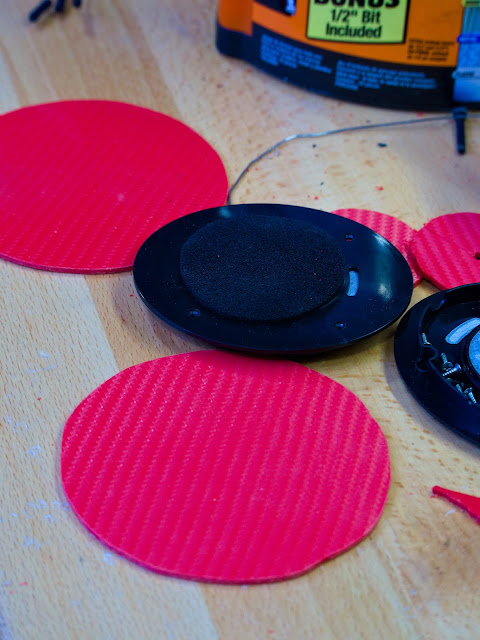
I twisted it to display the speaker side. I'm removing that entire baffle, and of course, replacing the speaker. I'll use a larger plastic baffle for a bigger more comfortable pad too.
Sticking with Kydex. Easy to cut, and I like the patterned finish I get on the sheets. Durable as hell too.
I started by measuring the diagonal of the 4 holes. I drew a circle on the baffle I cut using that as the diameter. Next, I clamped the original baffle down so that I could see the drawn circle on the new baffle through all 4 holes. With that, it was aligned. I drilled the 4 holes that would bolt this new baffle to the cup.
Now that I have the baffle that bolts to the cup, I need to attach the speakers. I drew another circle, 50mm in diameter, and used that to estimate where I'd drill 4 more holes.
After drilling holes to fasten the speaker, I needed to either drill a big hole and fasten a speaker grill, or fashion my own. I opted for the latter, drilling out a pattern within the 50mm circle's perimeter.
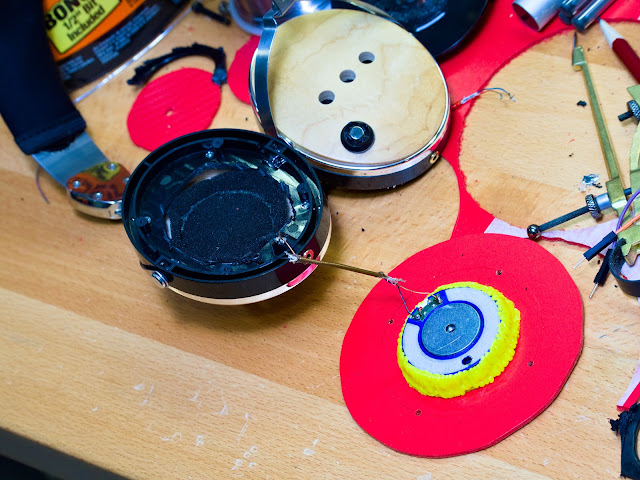
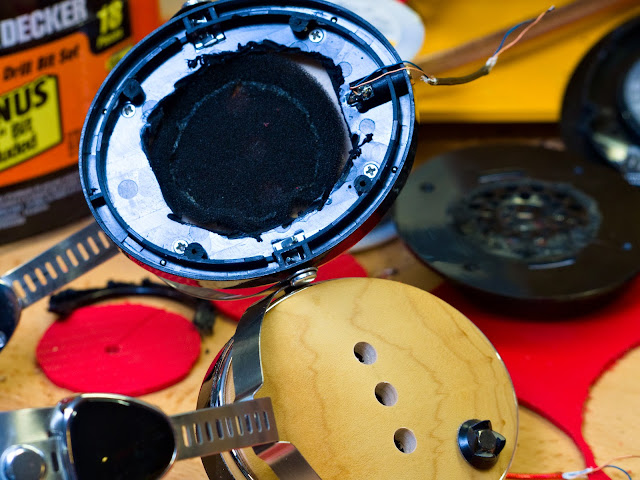
I turned my attention to the cups now. I could leave this closed-back, but from all the drivers I've used, it just seems that sound fidelity suffers this way. I could always reduce the hole's effect covering up from inside, so wanting to go back to "closed" remains an option.
The original baffle was used as a screw template. Now I'm, scavenging the foam it used as a sound filter to cover the cup's holes from the inside, where it will serve as a dust filter.
Finally, bolted on the baffles and added the pads. everything looks quite clean!
Sound?
The sound is far improved. My usual tests (described at the end of my first DIY-Headphone article) were handled quite well. From hearing the seagulls in "Faded", the triangles in "The Trio" to the creaking of piano keys in "Mad World". The details are all there. Somewhat more nuanced than the titanium driver in my second article provided, but the bass is thicker, fuller. These headphones appear easier to drive too, picking up higher volumes than my last pair. Chuck Mangione "Feels so good"? It sounded so good too 😉
Final Thoughts...
Comparing this with my previous builds (first, second), it may be not only simpler to use these headphones as a base, but also cheaper. They can sell for ~$35 as refurbished. That gets a good build quality headband and stirrups, cups, jacks, and cable with an in-line mic. I also value my time. I did this in an afternoon. I didn't have to wait for the glue to dry and paint to finish. I'm definitely considering this option again for future builds.
.jpg)


Hi! Recently I've stumbled upon your comment in Reddit in building the DIY headphones. This is quite a late that I showed up this time, but I am very curious about your result. In the project you've used 50mm which I believe is this one : https://vi.aliexpress.com/item/1005002840837728.html?gatewayAdapt=glo2vnm which claimed to be a replacement for k371. Have you tried any of the AKG headphones that are mentioned in the product description? If yes, is the DIY headphones match the commercial ones? Thank you!
ReplyDeleteI haven't tried AKG, so I cannot say if it really is the same thing. I'd wager that it isn't, and at best is close the the same thing.
DeleteI don't have really nice commercial headphones. Phillips SPH9500 and Fidelios were as high as I went. What bothered me mostly about "nicer" headphones was either build quality, or notes that it might get a little bright and shouty.
I'm quite happy with my DIY sets. I think I've definitely gotten more detail and a more pleasing tuning that either Phillips headset, and it's more pleasing than my IEMs too (Fiio FH3, some KZ, Shuoer Tape etc.).
P.S. I've made more more "final" since these. These were given to coworkers and family.
Deletehttps://beomagi.blogspot.com/2023/01/i-made-joystick-ie-why-pay-x-for.html#:~:text=0%2D1023%20analog-,control,-.%C2%A0
Dual 40mm drivers, 1 "tesla" + 1 titanium behind the tesla. I'm most satisfied with this setup. Those are PVC end-caps, and the headband is david-clark aircraft headset replacement. It should outlast me. Will probably give this to my daughter and make another but write up the details.